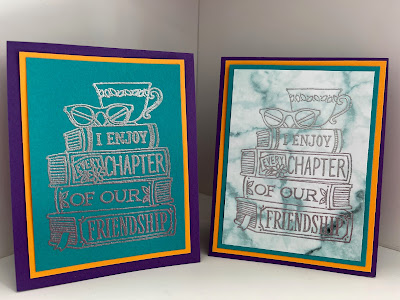
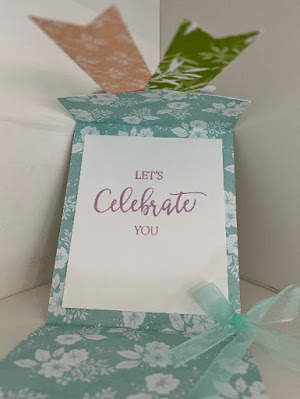
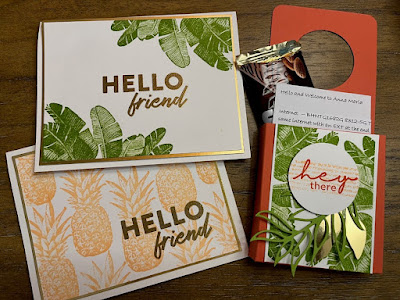
This week I have several projects made using our wonderful new Sale-A-Bration items.
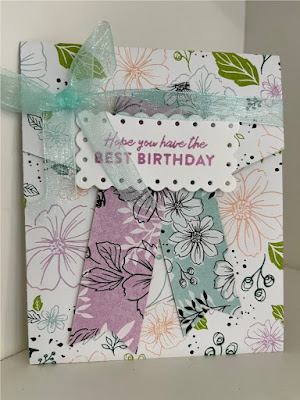
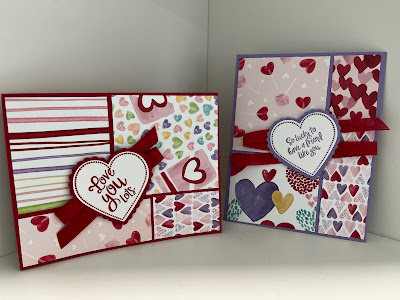
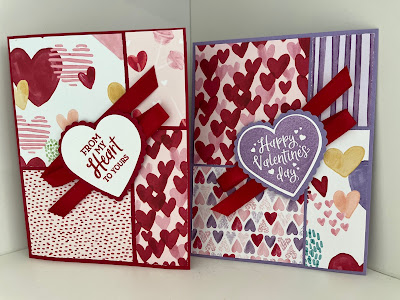
This Friendly Hello paper is so pretty, the colors are Pool Party, Pale Papaya, Fresh Freesia and Granny Apple Green, it's very springy!
Friendly Hello – Birthday card Dimensions and "how to"
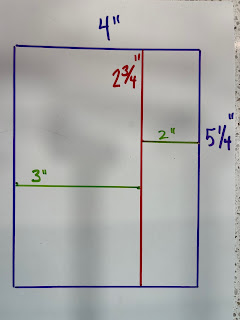
1. Designer paper 4
x 11, scored at 2 3/8 and 7 ¼
2. Trim the top of
the paper into a vee by finding the middle (2”) and then measuring ¾ from the
top edge, cutting each side into the center to it’s a gradual vee.
3. Create the
inside – the white is 3 ½ x 4 ¼ - stamp on this paper and add to the inside of
the card. You could cut this down to
show more of the designer paper.
4. Now make the
front: stamp the greeting (you can use a punch, cut a shape or die cut)
5. Trim the 2 other
pieces of designer paper that are 1 x 4 with a flag end (or use a banner punch)
6. Attach the 2 pieces flat to the top part of the card
(above the “vee”), and then add the greeting with dimensionals – tip make sure
the adhesive for these 2 pieces is only at the top so the card can open.
7. Tie 18” of
matching ribbon around the top and tuck under the top of the greeting so this
can be pulled off by the recipient. This can be mailed in a regular envelope.
We did a virtual launch for our catalog and recorded to a Facebook page. Here's a link to the group, feel free to join us.
https://www.facebook.com/groups/905065200368934
Also on that Facebook site:
There's a video on this page, showing you this project and how to easily cut the vee at the top of the card. Here's a link to the video click here to see the video with 4 SAB projects
Sale-A-Bration is a twice a year promotion where you get to choose a stamp set or designer paper when you spend $50. You can see this SAB catalog of choices by clicking on the Tab (above) on Shopping, Deals and Catalogs.
Happy to send you a catalog, answer your questions, please reach out MaryKate@MaryKateScott.com
Happy stamping, MaryKate